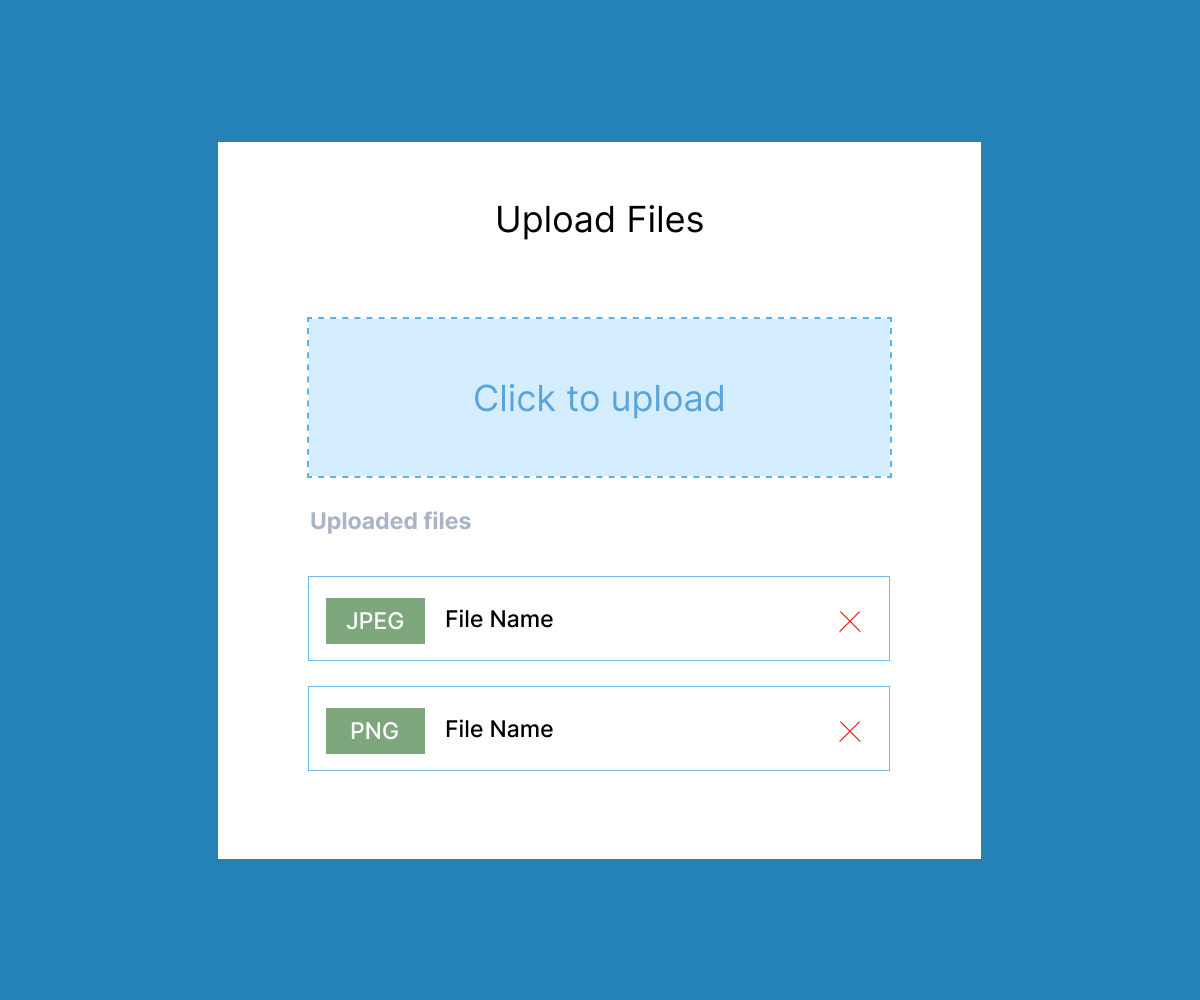
When building modern web applications, the ability to upload multiple files simultaneously is a common requirement. Next.js, a popular React framework, offers a robust platform to implement this feature seamlessly. In this guide, we’ll walk through the process of setting up multiple file uploads in a Next.js application.
In this article, we won’t be diving into styling details like progress bars and other enhancements for file uploads. However, we’ll cover these aspects in a future article, where we’ll implement them smoothly and effectively.
Prerequisites
Before diving into the code, ensure you have the following installed:
- Node.js (v12.x or higher)
- Next.js (v10.x or higher)
- Basic knowledge of React and Next.js
1. Setting Up the Project
If you haven’t already set up a Next.js project, you can create a new one by running:
npx create-next-app my-multi-upload-app
cd my-multi-upload-app
Install any necessary dependencies:
npm install2. Creating the Upload Component
Next, we’ll create a React component to handle file uploads. Inside the src directory, create a new file called index.tsx. This file will contain the HTML and logic for the file upload component:
export default function Home() {
return (
    <div className="max-w-screen-xl mx-auto my-5">
      <div className="w-full text-3xl">
        <h1>Simple File Upload In Next.JS</h1>
      </div>
      <div className="w-full bg-gray-100 rounded-xl my-7 p-10">
        <h4>File Upload</h4>
        <div className="mt-7">
          <input type="file" multiple className="bg-blue-800 text-white mr-5" />
          <button className="bg-blue-800 text-white rounded-md py-1 px-4 hover:bg-green-700">Upload</button>
        </div>
      </div>
    </div>
  );
}
3. Handling File Uploads
Now, let’s extend this component to handle file selection and uploading.
We’ll modify the index.tsx file to manage file data and send it to the Next.js API to save the files in a specified folder (in this case, a folder named upload inside public).
Here’s the updated code:
export default function Home() {
  const [fileData, setFileData] = useState<[]>([]);
  const fileUpload:any = useRef<HTMLFormElement>(null);
  const [fileUploadStatus, setFileUploadStatus] = useState<any | null>(null);

  const handleFileUploadChange = (data:any) =>{
    if(data.target.files){
      if(data.target.files.length > 0){
        let fileData:any = [];
        for (let index = 0; index < data.target.files.length; index++) {
          fileData.push({name: data.target.files[index].name, size: data.target.files[index].size})
        }
        setFileData(fileData)
      }
    }
  }

  const handleFileUpload = async ()=>{
    const formData = new FormData();
      fileData.map((item:any, index:any)=>{
        formData.append('file', fileUpload.current.files[index], fileUpload.current.files[index].name);
      })
      const resultData = await axios.post('/api/fuleUploadAPI', formData,{
        headers: {
            "Content-Type": "multipart/form-data"
        }
      });
      console.log("resultData", resultData);
      if(resultData.data.data){
        setFileUploadStatus(resultData.data.data);
      }
  }

  return (
    <div className="max-w-screen-xl mx-auto my-5">
      <div className="w-full text-3xl">
        <h1>Simple File Upload In Next.JS</h1>
      </div>
      <div className="w-full bg-gray-100 rounded-xl my-7 p-10">
        <h4>File Upload</h4>
        <div className="mt-7">
          <input type="file" multiple className="bg-blue-800 text-white mr-5" onChange={handleFileUploadChange} ref={fileUpload} />
          <button className="bg-blue-800 text-white rounded-md py-1 px-4 hover:bg-green-700" onClick={handleFileUpload}>Upload</button>
        </div>
        <div className="mt-5">
          {fileData && fileData.length > 0 && (
            fileData.map((item:any, index:any)=>{
              return(
                <div key={index}>{index+1} - {item.name}</div>
              )
            })
          )}

        </div>
        <div>
          {fileUploadStatus && fileUploadStatus.file.length && (
            <div className="bg-green-800 text-white p-5 rounded-lg mt-5">File Uploaded</div>
          )}
        </div>
      </div>
    </div>
  );
}
What’s Happening in the Code?
- State Variables:
fileData: Stores information about selected files (name and size).fileUploadStatus: Tracks the status of the file upload.
- Ref Variable:
fileUpload: References the file input element, enabling direct access to the selected files.
- handleFileUploadChange Function:
- Triggered when the user selects files.
- Updates
fileDatawith the name and size of each selected file.
- handleFileUpload Function:
- Creates a
FormDataobject to prepare the files for upload. - Sends a POST request to the
/api/fileUploadAPIendpoint with the selected files. - Updates
fileUploadStatusupon successful upload.
- Creates a
4. Creating the API Endpoint
To handle the file uploads on the server, we need to create an API endpoint.
We’ll use the formidable library to manage multipart form data. Install formidable by running:
npm i formidableNow, create a new API route in pages/api/fileUploadAPI.tsx and import the necessary modules:
Imports
fs(File System): Used for file system operations such as creating directories and moving files.path: Provides utilities for working with file and directory paths.formidable: A library for handling file uploads in Node.js.
// api/fuleUploadAPI.tsx
import fs from 'fs';
import path from 'path';
import formidable, { Fields, Files } from 'formidable';
export const config
api: { bodyParser: false }: This tells Next.js not to use its default body parser, becauseformidablewill handle parsing the incoming request data. This is crucial when dealing with file uploads, which are typically sent asmultipart/form-data.
// api/fuleUploadAPI.tsx
export const config = {
  api: {
    bodyParser: false,
  },
};
Formidable Setup:
form = formidable({ ... }): This initializesformidablewith specific options:uploadDir: The directory where uploaded files will be saved. It’s set to'/public/uploads'in the root directory of the project.keepExtensions: If set totrue, this keeps the original file extensions when saving the files.filename: A function that customizes the filename for each uploaded file. It uses thefileNameChangefunction.
fileNameChange: This function generates a unique filename using the current timestamp and the original filename.
// api/fuleUploadAPI.tsx
const form:any = formidable({
    uploadDir: path.join(process.cwd(), '/public/uploads'),
    keepExtensions: true,
    filename: (name:any, ext:any, part:any) => fileNameChange(name, ext, part),
});
const fileNameChange = (name:any, ext:any, part:any) =>{
    return `${Date.now()}-${part.originalFilename}`
}
Directory Creation:
fs.promises.mkdir(form.uploadDir, { recursive: true }): This ensures that the upload directory exists. If it doesn’t exist, it will be created, including any necessary parent directories (recursive: true).
// api/fuleUploadAPI.tsx
await fs.promises.mkdir(form.uploadDir, { recursive: true });
Parsing the Request:
const { fields, files } = await new Promise(...): The form data is parsed usingform.parse(req, ...), which extracts the fields and files from the incoming request. If there’s an error during parsing, it’s caught and handled by therejectfunction.
// api/fuleUploadAPI.tsx
const { fields, files } : {fields: Fields, files: Files} = await new Promise((resolve, reject) => {
  form.parse(req, (err: any, fields: Fields, files: Files) => {
    if (err) reject(err);
    else resolve({ fields, files });
  });
});
File Processing:
file = files.file: Extracts the uploaded files from thefilesobject. It’s assumed that the input field name in the form isfile.uploadDIR: Determines the upload directory, defaulting to/public/uploadsifform.uploadDiris not defined.forloop: Iterates over each uploaded file:extention: Extracts the file extension from the new filename.newFilename: Generates a new filename if needed.newFilePath: Constructs the full path where the file will be stored.fs.promises.rename(...): Moves the uploaded file from its temporary location to the final directory.
// api/fuleUploadAPI.tsx
// File processing after parsing
const file:any = files.file;
let uploadDIR:string = form.uploadDir != undefined ? form.uploadDir : '/public/uploads';
for (let index = 0; index < file.length; index++) {
    let extention = file[index].newFilename.split('.').pop();
    let newFilename:string = file[index].newFilename != undefined ? file[index].newFilename : `${Date.now()}-tempfile-1.jpg`;
    let newFilePath = path.join(uploadDIR, newFilename);
    await fs.promises.rename(file[index].filepath, newFilePath);
}
Response:
- If the upload and file processing are successful, it returns a 200 status with a success message and the uploaded file information.
// api/fuleUploadAPI.tsx
return res.status(200).json({ message: 'File uploaded successfully', data: {file: file, form: form} });
Here is the final api file code:
// api/fuleUploadAPI.tsx
import fs from 'fs';
import path from 'path';
import formidable, { Fields, Files } from 'formidable';

export const config = {
  api: {
    bodyParser: false,
  },
};

const handler = async (req: any, res: any) => {

  const form:any = formidable({
    uploadDir: path.join(process.cwd(), '/public/uploads'),
    keepExtensions: true,
    filename: (name:any, ext:any, part:any) => fileNameChange(name, ext, part),
  });

  const fileNameChange = (name:any, ext:any, part:any) =>{
    return `${Date.now()}-${part.originalFilename}`
  }

  // Ensure the upload directory exists
  await fs.promises.mkdir(form.uploadDir, { recursive: true });

  try {
    const { fields, files } : {fields: Fields, files: Files} = await new Promise((resolve, reject) => {
      form.parse(req, (err: any, fields: Fields, files: Files) => {
        if (err) reject(err);
        else resolve({ fields, files });
      });
    });

    // File processing after parsing
    const file:any = files.file;
    let uploadDIR:string = form.uploadDir != undefined ? form.uploadDir : '/public/uploads';
    for (let index = 0; index < file.length; index++) {
        let extention = file[index].newFilename.split('.').pop();
        let newFilename:string = file[index].newFilename != undefined ? file[index].newFilename : `${Date.now()}-tempfile-1.jpg`;
        let newFilePath = path.join(uploadDIR, newFilename);
        await fs.promises.rename(file[index].filepath, newFilePath);
    }

    return res.status(200).json({ message: 'File uploaded successfully', data: {file: file, form: form} });
  } catch (error: any) {
    console.error('Error:', error);
    return res.status(500).json({ error: 'An error occurred during file upload' });
  }
};

export default handler;
4. Testing the Implementation
To test your implementation:
Start the development server:
npm run dev- Open your browser and navigate to http://localhost:3000.
- Use the file input to select multiple files and click the “Upload” button.
If everything is set up correctly, you should see a success message, and the files should be saved in the public/uploads directory.
For the complete code, you can check out my GitHub repository.
To enhance the performance of your Next.js application, please refer to our other post.
Conclusion
Implementing multiple file uploads in a Next.js application is a straightforward process when you break it down into manageable steps. By setting up a custom upload component, handling file data on the client side, and creating a server-side API to process and store the files, you can add this essential feature to your web application. With the flexibility of Next.js and the power of tools like formidable, you have everything you need to handle file uploads efficiently.
Whether you’re building a complex application or a simple project, understanding how to manage file uploads will expand your ability to create more dynamic and user-friendly web experiences. As you continue to develop your Next.js skills, you can further refine this functionality, such as adding file type validation, progress bars, or integrating cloud storage solutions.
For a deeper dive, feel free to explore the complete code on GitHub and stay tuned for future articles where we’ll cover additional enhancements and best practices.
Happy coding! 🙂


